Vision 101: When to Use a Vision Sensor
Many users find vision challenging, and complex vision systems certainly can be overwhelming, but vision is a powerful tool for many applications. Vision sensors are an especially great choice for users getting started with vision. This article explains what vision sensors are, when to use a vision sensor, and when to upgrade to a smart camera. A version of this article appeared previously in Quality Magazine; it is reprinted with permission.

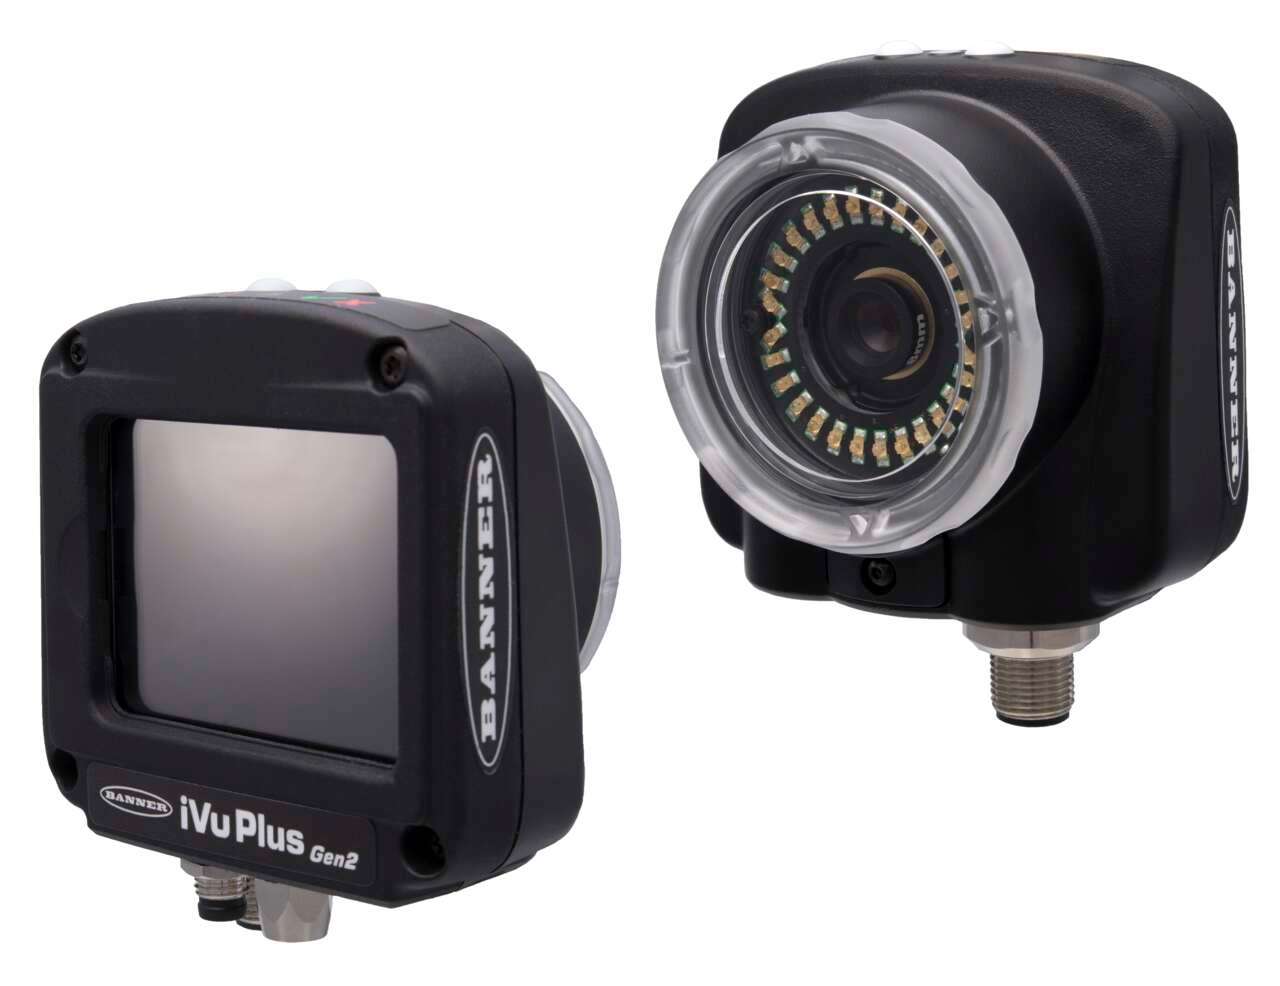
A vision sensor is a self-contained device that includes vision lighting, lens, and camera in a single compact unit, which simplifies implementation. Vision sensors are available with a wide variety of lens and lighting options to match a variety of applications with one simple device.
Vision sensors are an especially great choice for users that are getting started with vision, have relatively simple inspection applications, and are looking for a solution that is intuitive and easy to implement quickly with minimal downtime.
Vision sensors are best for simple quality control applications including presence/absence verification, matching, label inspection, verifying the correct color or shade of an object, etc. A great first vision application using a vision sensor is a pattern-match inspection since it simply requires capturing an image of a correct condition. When the sensor detects a part that doesn’t match, the sensor sends a fail output to the line, and the product is rejected. For example, a vision sensor can be used to verify the presence of a label on a product.
Another good application is complete assembly verification. For example, a vision sensor can be used to verify that all correct components are present in a completed medical kit assembly.
The following are 5 important benefits of vision sensors:
1. Save time and costs
Vision sensors are typically smaller, lower cost, and less complicated than smart cameras, which makes vision sensors one of the easiest vision solutions to get up and running quickly. In fact, training on a vision sensor can take as little as half an hour with no previous vision experience. Furthermore, a vision sensor with an onboard display that doesn’t require a PC for programming can often be set up in a matter of minutes. A device with integrated lighting makes it even easier to set up a basic vision inspection with no additional devices required.
2. Use fewer devices to inspect multiple conditions
Vision sensors can be used for many simple verification and inspection applications. Because vision sensors capture a whole picture rather than a single point, a single vision sensor can often replace multiple photoelectric sensors and verify several conditions at once.
3. Meet a variety of application requirements with one model
Vision sensors that allow you to change lenses give you the flexibility to meet changing application requirements. For example, different lenses allow you to change the field of view or working distance of the sensor. Swappable lenses allow you to standardize on one device and change lenses based on application requirements, which simplifies inventory requirements and saves costs.
4. Verify shapes, patterns, colors, & more
Vision sensors can be either monochrome (black and white) or color. Monochrome vision sensors are often used to verify the presence or shape of objects or to match patterns where the actual color is not necessary to differentiate between pass or fail condition.
Meanwhile, a color imager sees in true color and is used for inspections where color is the only difference between pass or fail condition. For example, a color vision sensor can be used to determine the color of vehicle trim in the automotive industry or to verify the color of a label in the consumer packaged goods industry.
Image: A color vision sensor verifies the correct color trim on a car door during quality inspections.
5. Create contrast with colored lighting
For many vision sensors, you can also choose from a variety of colored lighting to help create contrast in your application. Different color lights can make features appear either brighter or darker to a monochrome camera. For example, use a red light to make red objects in the image seem lighter, or use a green light (opposite of red on the color wheel) to make red details stand out. This makes it easier for the sensor to identify missing or inaccurate details.
The next step after a vision sensor would be a smart camera, which usually requires a PC for programming but provides additional capabilities such as feature measurement and flaw analysis. Smart cameras are ideal if you need more functionality than a vision sensor, but still need a versatile, easy-to-use solution. Look for a camera with intuitive software that can handle complicated inspections while still being user-friendly.


